Creating UGC (User-Generated Content) for Roblox involves designing 3D assets like hats, accessories, clothing, or other items that players can use in the game. Here’s a step-by-step guide tailored to your expertise in 3D modeling:
1. Understand Roblox UGC Guidelines
- Visit the Roblox Creator Documentation to review the UGC program’s rules and limitations.
- Key considerations:
- Polygon count: Keep the model optimized (typically under 10k triangles for hats and accessories).
- Texture size: Stick to 256×256 or 512×512 resolution.
- Scale and fit: Ensure the model fits Roblox avatars (R6 and R15 rigs).
2. Plan Your Design
- Decide the type of UGC item you want to create (hat, face accessory, back accessory, etc.).
- Sketch your design or use references for inspiration.
3. Set Up Blender for Roblox
- Use the Roblox Studio rig as a reference:
- Export an avatar model from Roblox Studio (
Avatar > Export > .obj). - Import the model into Blender (
File > Import > Wavefront (.obj)).
- Export an avatar model from Roblox Studio (
4. Model the Asset
- Base Mesh: Start with simple shapes to block out the design.
- Detailing:
- Keep details low-poly.
- Avoid sharp edges; use bevels for smoother models.
- Fit and Proportion:
- Use the imported avatar model to align and scale your UGC item properly.
- Modifiers:
- Use the Mirror and Subdivision Surface modifiers if needed for symmetry or smoothness.
5. Texturing
- Use simple, stylized textures or materials:
- Create textures in tools like Photoshop, Krita, or Substance Painter.
- Ensure the UV mapping is clean and efficient.
- Export textures in PNG format with transparency if necessary.
6. Export the Model
- Apply all transformations (
Ctrl + A> All Transforms). - Export as .fbx or .obj:
- Check the scale (usually 1 Blender unit = 1 Roblox unit).
- Export only the mesh (exclude unnecessary objects like lights or cameras).
7. Import into Roblox Studio
- Open Roblox Studio and create a new place.
- Go to
View > Asset Manager, thenImport 3D. - Upload your .fbx or .obj file and check the scale, position, and textures.
8. Test and Tweak
- Attach your UGC item to the Roblox avatar to ensure it fits and behaves correctly.
- Adjust the pivot point and anchor properties as needed.
9. Submit for Approval
- If you’re part of the Roblox UGC program, upload your asset to the marketplace for review.
- Follow Roblox’s guidelines for naming, tagging, and descriptions.
10. Iterate and Improve
- Gather feedback and refine your designs.
- Stay updated with Roblox trends to make items players will love.
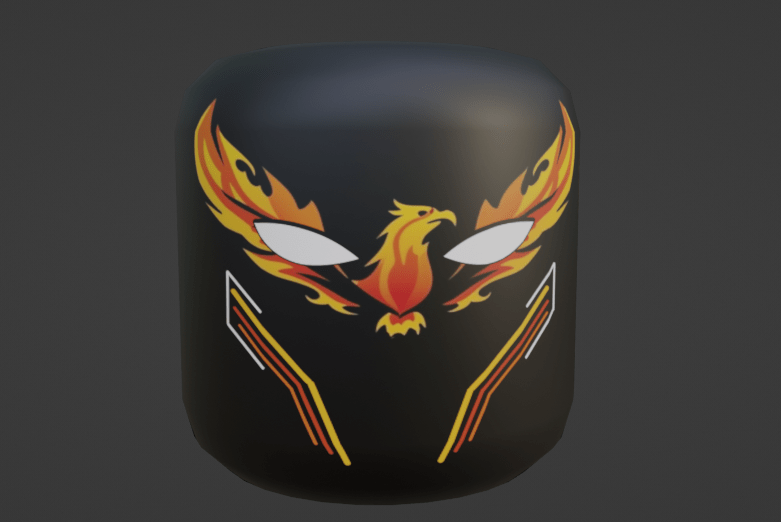
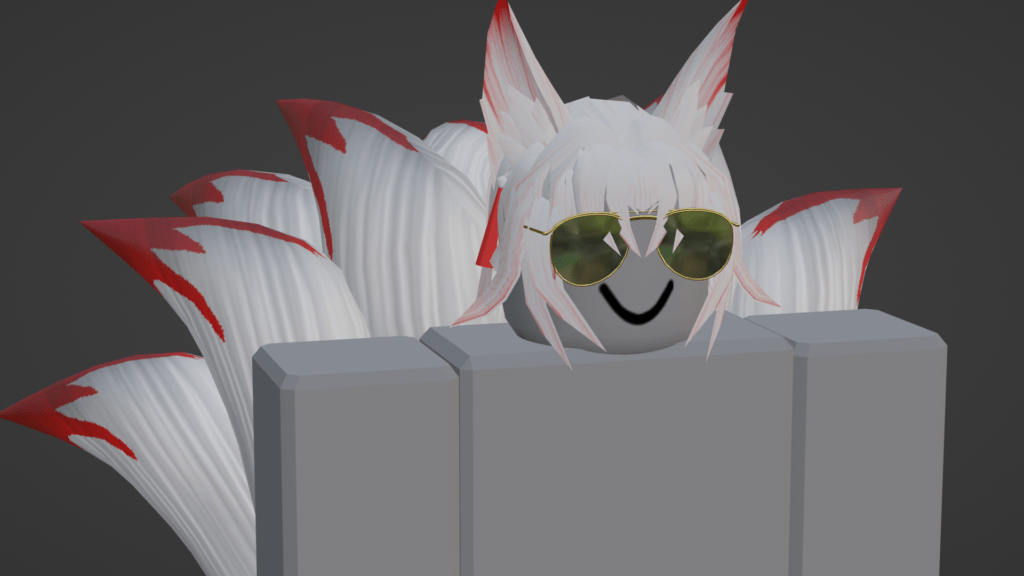
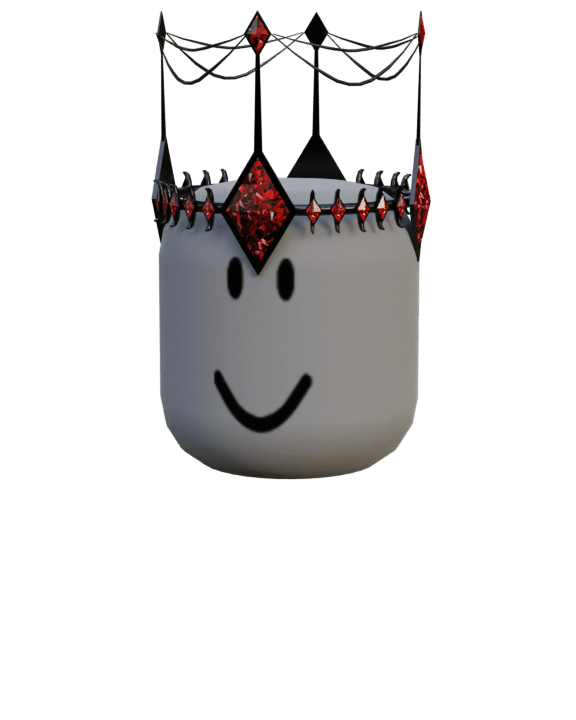
HERE ARE SOME UGC ALREADY CREATED


